Advanced tracker setup
Basic Adjust tracker URLs can record engagements and attribute users—but that's just the beginning. Use our advanced setup instructions to customize any of your Adjust trackers.
Here, you'll learn how to:
- Add campaign information to your tracker (campaign structure parameters)
- Pass custom data, redirect or deeplink users, manage ad spend tracking, and more (additional parameters)
- Manage how and when Adjust attributes users to your tracker (tracker-level attribution settings)
Customize your tracker URL
To update an existing tracker, select its Settings (gear icon) and then select EDIT. To customize a new tracker URL, follow these steps.
- Find your app and select your app options caret (^)
- Select Tracker URLs
- Select NEW TRACKER
- Enter a tracker name
- Select a network
- Select CUSTOMIZE
- Choose to customize your campaign structure, additional parameters, or attribution settings
- After customization, select CREATE
- To make further changes, select EDIT
- To quickly copy your tracker URL, select Copy (clipboard icon)
- Select DONE
Campaign structure parameters
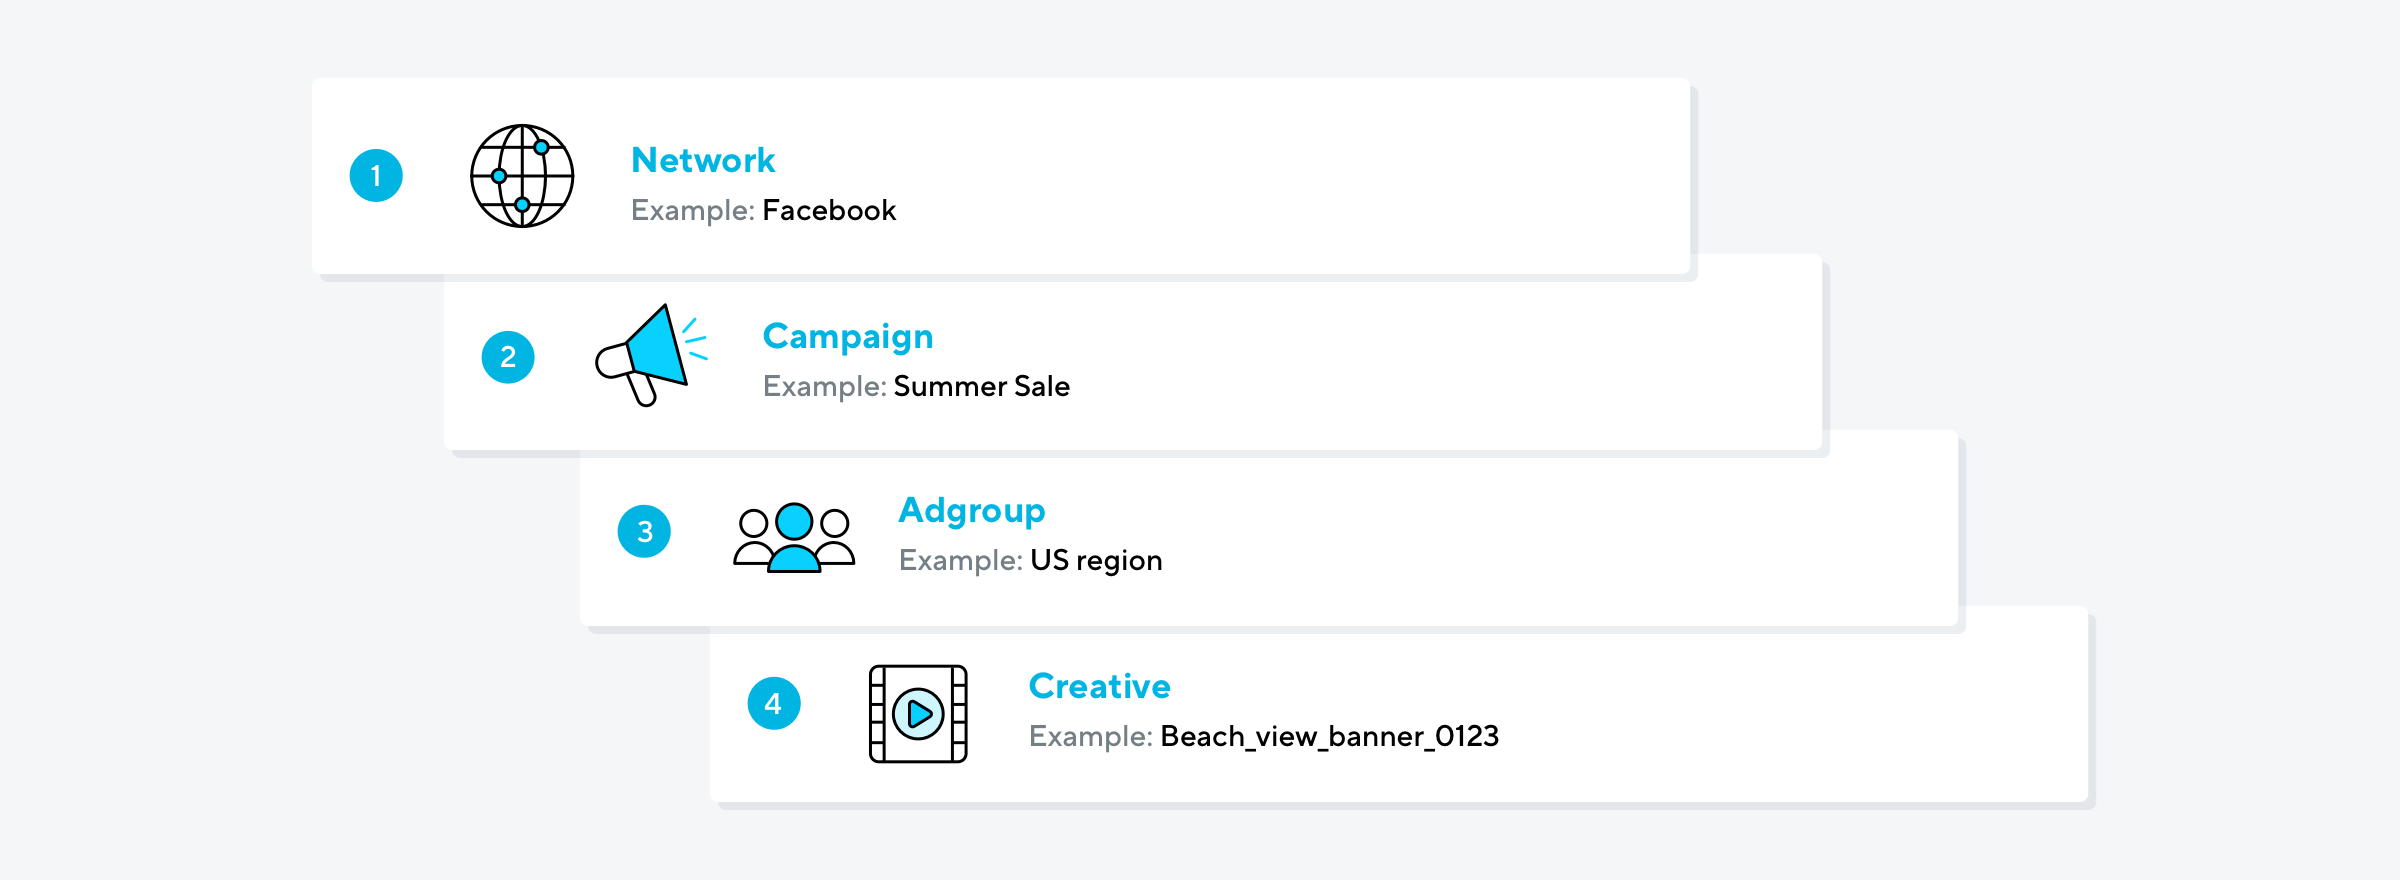
With Adjust's campaign structure parameters, you can create subtrackers and segment your attributed users.
To add campaign structure parameters to your tracker URL, select Campaign Structure and enter names for each sublevel you want to create. Adjust will automatically create sublevel trackers using the same settings as your top-level tracker.
For more details, see our tracker URLs article.
Additional parameters
Use Adjust's additional parameters to pass custom data directly to your servers and define how users are redirected after clicking on your tracker URL.
Our additional parameters are:
- Label
- Deeplink
- Redirect
- Fallback click
- Fallback
- Fallback landing page (for iOS 10.3+)
- Dynamic callback parameters (DCPs) - manually appended
- Ad spend
These settings are available on network- and campaign-level trackers.
Label
The label
parameter lets you send custom data that doesn't fit into any of Adjust's other placeholders. It's perfect for sending network engagement information unrelated to your attribution data (the custom value appears directly in your raw-data exports).
To use this parameter, enter a value in the Label field and append a {label}
placeholder to your callback URLs or CSV uploads. Now your callbacks will include your custom data.
Deeplink
Trackers with the deeplink
parameter redirect users directly to a specific page within your app. This parameter overrides Adjust's default redirect to the app store and supersedes all other parameters. For more details and setup instructions, see our deeplinking article.
Redirect
Trackers with the redirect
parameter send users to a specific URL. This parameter overrides Adjust's default redirect to the app store and supersedes every parameter except deeplink
.
Redirects are helpful when you want to send users to a custom landing page instead of the app store (for example, while you're running a special promotion). You can redirect users by device type or redirect all users to one location.
Universal redirects
To redirect all users to the same location, enter a URL in the Redirect field. Now your Adjust tracker will redirect all users to this location.
Example tracker with redirect:
https://app.adjust.com/abc123?redirect=https%3A%2F%2Fwww.common-redirect-website.com%2Fmy-app
Platform-specific redirects
To set different redirects for iOS, Android, Windows Phone, and Windows, select Use platform specific redirects and enter your URLs. (Any blank fields will use Adjust's default redirect location to an app store.) Now your Adjust tracker will redirect users based on device type.
You can also manually add platform-specific redirect parameters (with an encoded endpoint URL) to your tracker URLs:
redirect_ios
redirect_macos
redirect_android
redirect_windows
redirect_windows-phone
Feel free to add these parameters in any combination and order.
Example tracker with redirect parameters:
https://app.adjust.com/abc123?redirect_android=https%3A%2F%2Fandroid-website.com%2Fmy-app&redirect=https%3A%2F%2Fwww.common-redirect-website.com%2Fmy-app
This URL includes a redirect_android
parameter and a standard redirect
parameter, so Android devices will go to one location and every other platform will go to the common redirect
endpoint.
Send select data points within redirects
Adjust can pass select data points within your redirect URL path. Use these Adjust placeholder macros to add data to your redirect URLs (before users are redirected):
Placeholder | Description |
---|---|
{reftag} | Random device reference tag |
{is_organic} | 1 if organic traffic, 0 if non-organic |
{idfa} | ID for advertisers (iOS only) |
{android_id} | Android ID (Android only) |
{gps_adid} | Google Play Store advertising ID |
{win_adid} | Windows advertising identifier |
{fire_adid} | Fire OS advertising identifier |
{mac_sha1} | Uppercase MAC SHA-1 hash |
{mac_md5} | Uppercase MAC MD5 hash |
{tracker_name} | Current tracker name |
{network_name} | Network name, as taken from the tracker |
{campaign_name} | Campaign name, as taken from the tracker |
{adgroup_name} | Adgroup name, as taken from the tracker |
{creative_name} | Creative name, as taken from the tracker |
Note: Remember to encode all placeholders, including the curly brackets ({ }
).
Fallback click
With the fallback click, you can accurately distinguish between organic and paid user attributions. Let's say you place a tracker URL behind a DOWNLOAD button on your website. Under last click attribution, any user who clicks this button gets attributed to your website—even if they came to your website after clicking an ad. With a fallback click on your tracker, only organic visitors are attributed to your mobile website, and visitors who came to your website through an ad get attributed to that source.
Trackers with the fallback_click
parameter are only considered for attribution if no other trackers are available. This means that only users who would otherwise be organic get attributed to fallback click trackers.
To add this parameter to your tracker URL, turn on Fallback Click.
Example tracker with fallback click:https://app.adjust.com/abc123?engagement_type=fallback_click
Fallback
Trackers with the fallback
parameter redirect off-platform users (i.e., clicks from an unsupported OS) to a specific landing page. For example, if an Android user clicks your iOS tracker, the fallback
parameter redirects them to your chosen URL instead of the Apple App Store.
To add a fallback
parameter to your tracker, enter your off-platform URL in the Fallback field.
Example tracker with fallback URL:
https://app.adjust.com/abc123?fallback=https%3A%2F%2Fwww.yourwebsite.com%2F
Note: Fallbacks are not supported for browsers on macOS. Those desktop users are automatically sent to the iOS App Store, unless there is a redirect indicated on the tracker.
- To redirect Mac desktop users from your Adjust tracker, add the
redirect_macos
parameter - To redirect Mac desktop users from a Universal Link, add the
adj_redirect_macos
parameter
Fallback landing page
Starting with iOS 10.3, Apple users who click tracker URLs are redirected to Safari and asked (through a pop-up) to confirm or cancel their redirect to the App Store. Apple then redirects the user based on their ad environment and pop-up response.
Users who select Open go to the App Store, but users who select Cancel could be left unintentionally stranded—this is where Adjust's fallback landing page comes in:
Ad environment | Pop-up response | Engagement Flow |
---|---|---|
Safari | Open | Safari > App Store |
Outside Safari | Open | Ad environment > Safari > App Store |
Safari | Cancel | Safari > user remains on ad page |
Outside Safari | Cancel | With fallback_lp parameter:Ad environment > Safari > your fallback landing page Without fallback_lp parameter:Ad environment > Safari > Adjust-designed landing page |
Adjust trackers with the fallback_lp
parameter "skip" Apple's pop-up and redirect all non-Safari users directly to your chosen URL.
- If you want these users to see Apple's pop-up first, follow the instructions outlined in the section Add the Apple pop-up to your fallback landing page.
Adjust trackers without the fallback_lp
parameter redirect non-Safari users (who cancel the App Store redirect) to an Adjust-created landing page. This page links to your app in the App Store.
Requirements
- A custom landing page to display when Safari opens (we recommend adding a link to the App Store)
Helpful information
- The
fallback_lp
parameter works with all Adjust parameters except theredirect
parameter - To include a fallback landing page with your Adjust raw universal link, append
adjust_fallback_lp
- For iOS versions before 10.3, all users are redirected to the App Store without any interruption
To use the fallback_lp
parameter, follow these steps.
- Copy your custom landing page URL
- In Adjust, go to your tracker's Additional Settings
- Enter your URL in the Fallback Landing Page field
Well done! Now users will see your custom landing page when Apple redirects them to Safari.
Add the Apple pop-up to your fallback landing page
Trackers with the fallback_lp
parameter redirect all non-Safari users to your fallback page without showing Apple's pop-up.
If you'd like these users to see Apple's pop-up, add the following JavaScript to your fallback page: window.location.href = "https://apps.apple.com/app/idxxxxxxxxx"
Be sure to replace https://apps.apple.com/app/idxxxxxxxxx
with your own store URL. Now, only non-Safari users who cancel the App Store redirect will go to your fallback landing page.
Dynamic callback parameters
Dynamic callback parameters (DCPs) let you send custom campaign parameters at click or impression time. Use them to collect user-specific data for your internal system and receive network partner macros beyond Adjust's campaign parameters (campaign
; adgroup
; creative
).
Requirements
- An Adjust tracker URL
- A raw data export setup in Adjust (real-time callbacks and/or CSV uploads)
Helpful information
- DCPs must be defined and appended to your Adjust tracker URL and included in your raw data export
Availability
- DCPs are available with global callbacks
- DCPs are available on click, impression, install, rejected install, reattribution, rejected reattribution, reattribution reinstall, session, event, SAN engagement, GDPR, ad revenue, cost, subscribtion and attribition update callbacks
Setup
To add dynamic callback parameters to your Adjust tracker URL and raw data exports, follow these steps.
- Find your app and select your app options caret (^)
- Select All Settings > Raw Data Export > Real-Time Callbacks or CSV Upload
- For callbacks, select Edit (pencil icon) next to an activity; for CSV uploads, scroll to the CSV Definition field
- Choose a name for your dynamic callback parameter (e.g.,
campaign_name_3
) and append adcp_
prefix (e.g.,{dcp_campaign_name_3}
) - Make this a placeholder on your click, impression, install, reattribution, session, or in-app event callback or add it to your CSV definition
- Example callback URL:
https://my.server.endpoint.com/adjust-callback?campaign_name_3={dcp_campaign_name_3}
- Example CSV definition:
“My app is great”,{gps_adid},[user_id],{installed_at},{event_name},[item_number],{reporting_revenue},{dcp_campaign_name_3}
- Example callback URL:
- Select SAVE
- Find your Adjust tracker URL in the Campaign Wizard and select Settings (gear icon)
- Select Copy (clipboard icon) to copy your tracker URL
- Paste your tracker URL into your preferred text editor (e.g., Notepad, TextEdit, Google Docs)
- Example:
https://app.adjust.com/abc123
- Example:
- Add your self-defined parameter (without
dcp_
) to your tracker URL (e.g.,campaign_name_3={network_campaign_macro}
)- Example:
https://app.adjust.com/abc123?campaign_name_3={network_campaign_macro}
- Example:
- Give your tracker URL to your ad network and ask them to integrate it into their ad servers
Well done! Now Adjust will receive this custom information at engagement time and include it with your real-time callbacks and/or CSV uploads.
adj_
or adjust_
.
Ad spend
You can track your mobile advertising spend down to the lowest campaign levels in Adjust. For more details, see our ad spend tracking article.
If you have a Business Pro (or higher) pricing plan, Adjust automatically tracks ad spend for all eligible trackers. In the Campaign Wizard, trackers linked to ad spend partners are marked with a white $
(if ad spend tracking is on) or a grey $
(if ad spend tracking is off). You can turn ad spend tracking off (or on) anytime.
Turn off (or turn on) ad spend tracking
To stop tracking ad spend for an Adjust tracker URL, follow these steps.
- Find your app and select your app options caret (^)
- Select Tracker URLs
- Select Settings (gear icon) for any cost-enabled tracker
- Select EDIT
- Select Additional Parameters
- Turn off Ad spend
- Select Apply
- Select SAVE
Now Adjust will stop reporting ad spend within your dashboard. To track ad spend again, follow the steps above and turn on Ad spend in step 6.
Tracker-level attribution settings
Adjust's customizable attribution settings let you decide how long clicks and impressions are eligible for attribution.
With an Enterprise (or higher) pricing plan, you can change tracker attribution settings at the network, campaign, and adgroup levels for the following match types:
- Click based
- Device matching
- Fingerprinting
- Reattribution
- Impression based
- Device matching
- Fingerprinting
- Reattribution
Tip: If you don't customize your tracker's settings, we'll use your parent tracker's settings or (if those aren't customized either) your app-level settings.
Click-based attribution settings
Adjust supports two types of click-based attribution: device matching and fingerprinting.
Click-based device matching
Click-based device matching is Adjust's main attribution method. We collect a unique device identifier from recorded clicks and installs, and if both IDs match, we can attribute that click to the install with 100% accuracy.
This is the most reliable way to attribute installs, so Adjust always looks for eligible clicks with matching device identifiers before using other attribution methods.
Click-based fingerprinting
Click-based fingerprinting is Adjust's secondary attribution method. We collect unique device characteristics (IP address, device name, user agent, etc.) from recorded clicks and installs, and if enough of these characteristics match, we can attribute that click to the install.
Device characteristics often change—for example, your IP address changes when you switch wifi networks—so fingerprinting is most reliable over short time periods.
Click-based attribution windows
Attribution type | Attribution window settings | Valid identification types |
Click-based device matching | Minimum: 1 day Maximum: 30 days Recommended: 7 days | List of accepted device identification types Google Play Store referrer |
Click-based fingerprinting | Minimum: 1 hour Maximum: 24 hours Recommended: 6 hours | N/A |
Impression-based attribution settings
Adjust supports two types of impression-based attribution: device matching and fingerprinting.
Note that Adjust always prioritizes click-based attribution—we only use impression-based attribution when there's no available click data.
Impression-based device matching
Impression-based device matching is Adjust's main impression-based attribution method. We collect a unique device identifier from recorded impressions and installs, and if both IDs match, we can attribute that impression to the install.
Impression-based fingerprinting
Impression-based fingerprinting is Adjust's secondary impression-based attribution method. We collect unique device characteristics (IP address, device name, user agent, etc.) from recorded impressions and installs, and if enough of these characteristics match, we can attribute that impression to the install.
Device characteristics often change—for example, your IP address changes when you switch wifi networks—so fingerprinting is most reliable over short time periods.
Impression-based attribution windows
Attribution type | Attribution window settings | Valid identification types |
Impression-based device matching | Can be set in hours or days.HoursMinimum: 1 hourMaximum: 24 hours Recommended: 24 hours DaysMinimum: 1 dayMaximum: 7 days Recommended: 1 day | List of accepted device identification types |
Impression-based fingerprinting | Minimum: 1 hour Maximum: 24 hours Recommended: 6 hours This attribution window can't be larger than your impression-based device matching attribution window. | N/A |
Note: The maximum attribution window for impression-based attribution is 7 days, but we strongly recommend keeping the value at 24 hours or under.
Reattribution
Reattribution is when an inactive user engages with a retargeting campaign, returns to your app, and gets a new attribution source in Adjust. You can turn on click-based and/or impression-based reattribution anytime.
For more details and FAQs, see our reattribution article.